In the world of automated web testing, Selenium Webdriver is a powerful tool that allows developers to simulate user interactions with web browsers. However, when dealing with certain websites or applications, you may encounter authentication popups that require you to provide login credentials. This article will guide you on how to handle authentication popups in Selenium Webdriver using Chrome and Java code.
Table of Contents
Understanding Authentication Popups
Authentication popups are security measures implemented by websites and applications to restrict access to certain resources. They typically appear as a separate window or dialog box, prompting users to enter their credentials such as username and password. These popups can be encountered during the initial page load or when accessing specific pages that require authentication.
Handling Authentication pop up
Handling authentication pop-ups in Selenium WebDriver can be a crucial aspect of web application testing. This blog post will guide you through the process of handling authentication pop-ups effectively using Selenium WebDriver in Chrome. We’ll explore two methods to tackle this challenge, providing code examples and practical insights.
Method 1: How to handle authentication popup in Selenium WebDriver in chrome :: Handling Window Authentication pop-up in Selenium by passing the credential in URL
Embedding Credentials in the URL If the credentials are embedded in the URL, you can handle the authentication pop-up directly without using external tools. Follow these steps:
Step 1. Construct the URL with embedded credentials, following the format: “http://username:password@example.com“.
Step 2. Launch Chrome using WebDriver and navigate to the URL containing the credentials.
Step 3. Selenium will automatically pass the provided credentials, and the authentication pop-up will be handled smoothly.
Step 4. Continue with your Selenium script to interact with the authenticated page.

Please note that embedding credentials in the URL might have security implications. Exercise caution while using this method, especially when sharing or logging URLs. Please find complete code below:
package doWhileLearn.selenium;
import org.openqa.selenium.WebDriver;
import org.openqa.selenium.chrome.ChromeDriver;
public class DoWhileLearn_WindowAuthenticatin_credentialsInURL {
public static void main(String[] args) {
// Set the path to the chromedriver executable
System.setProperty("webdriver.chrome.driver", "path/to/chromedriver");
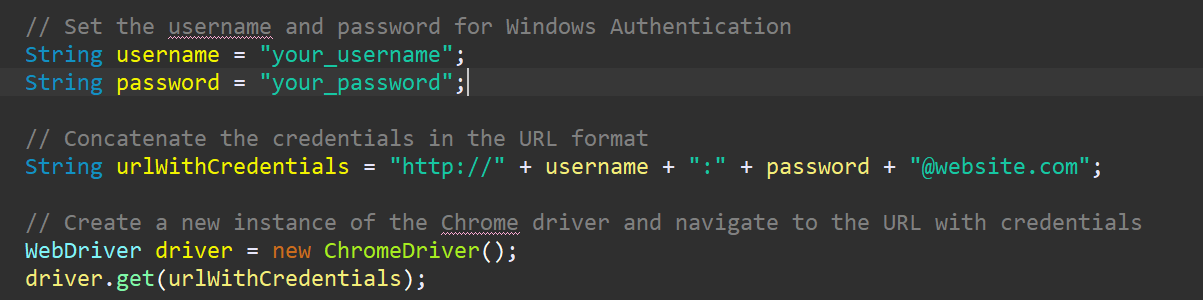
// Set the username and password for Windows Authentication
String username = "your_username";
String password = "your_password";
// Concatenate the credentials in the URL format
String urlWithCredentials = "http://" + username + ":" + password + "@website.com";
// Create a new instance of the Chrome driver and navigate to the URL with credentials
WebDriver driver = new ChromeDriver();
driver.get(urlWithCredentials);
// Now you can continue with your test logic after logging in.
// For example, you can interact with the authenticated page:
// driver.findElement(By.linkText("Secure Page")).click();
// Close the browser
driver.quit();
}
}
Method 2:How to handle authentication popup in Selenium WebDriver in chrome :: Handling Window Authentication pop-up in Selenium WebDriver using AutoIT tool
Before understanding how to handle authentication pop up, let’s first understand what is AutoIt.
What is AutoIT?
AutoIT is a scripting language and a freeware automation tool specifically designed for Windows-based operating systems. It allows users to automate tasks and interact with Windows GUI (Graphical User Interface) components, such as handling windows, controls, and keystrokes.
Overall, AutoIT is a powerful automation tool that simplifies the process of automating tasks and interacting with Windows GUI components, making it a popular choice among automation testers and Windows power users. Using AutoIT for Windows Authentication Pop-up If you encounter a Windows authentication pop-up, AutoIT can be a valuable tool to automate the process.
How to use AutoIt with selenium
Step 1. Use this link to see setup and installation details step by step.
Step 2. Write an AutoIT script to handle the authentication pop-up, including entering the username and password, and clicking the “OK” button.
; handle_authentication.au3
AutoItSetOption("WinTitleMatchMode", 2) ; Set the window title match mode to match any substring

; Wait for the Windows Authentication pop-up to appear
WinWait("Windows Security")

; Set the username and password
ControlSend("Windows Security", "", "Edit1", "your_username")
ControlSend("Windows Security", "", "Edit2", "your_password")

; Click the "OK" button
ControlClick("Windows Security", "", "Button1")
Save the above code in a file with the name “handle_authentication.au3.”
This script will first wait for the Windows Authentication pop-up to appear (it’s important to wait for the pop-up to ensure it has fully loaded). Then, it will send the provided username and password to the respective input fields and finally click the “OK” button to log in.
Please make sure to replace "your_username" and "your_password" with the actual username and password you want to use for the authentication.
After saving the AutoIt script, you will need to compile it into an executable (.exe) using the AutoIt Compiler. Once compiled, you can call this executable from your Java code
Step 3. Compile the AutoIT script into an executable file.
Step 4. In your Selenium script, execute the AutoIT script using the Runtime class before navigating to the URL triggering the authentication pop-up.
import java.io.IOException;

public class HandleWindowsAuthenticationWithSelenium {
    public static void main(String[] args) {
      try {
        // Set the path to the compiled AutoIt executable
         String autoItExePath = "path/to/handle_authentication.exe";

       // Replace backslashes in the path if needed
        autoItExePath = autoItExePath.replace("\\", "\\\\");

        // Execute the AutoIt script using Runtime.getRuntime()
        Runtime.getRuntime().exec(autoItExePath);

        // Add a delay to ensure that the AutoIt script has enough time to handle the authentication
        // Adjust this sleep time based on the time required for the authentication to complete.
        Thread.sleep(5000);

        // Continue with your Selenium WebDriver code
        // Create a WebDriver instance (e.g., ChromeDriver) and navigate to the URL
         WebDriver driver = new ChromeDriver();
         driver.get("http://website_with_authentication.com");

        // Now you can interact with the authenticated page or continue with your test logic.
        // For example, you can validate elements on the page, perform actions, etc.

        // Close the browser
         driver.quit();
    } catch (IOException | InterruptedException e) {
        e.printStackTrace();
    }
}
}
Step 5. Launch Chrome using WebDriver and navigate to the desired URL.
Step 6. Your Selenium script can now interact with the authenticated page seamlessly.
Conclusion: Handling authentication pop-ups is a crucial skill for successful web application testing with Selenium WebDriver. In this blog post, we explored two methods to tackle authentication pop-ups in Chrome: using AutoIT for Windows authentication pop-ups and embedding credentials in the URL. By following these step-by-step instructions and code examples, you can enhance your test automation workflow and ensure seamless interaction with authenticated pages.
Remember to choose the appropriate method based on the specific requirements of your testing scenario. Whether you opt for AutoIT or URL embedding, keep in mind the security implications and take necessary precautions. Mastering the art of handling authentication pop-ups in Selenium WebDriver will significantly contribute to the effectiveness and efficiency of your automated testing efforts.
Stay tuned for more Selenium tips and tricks to empower your test automation journey.